This article will guide you through the process of creating a Gupshup Self-Serve Account.
Step 1: Visit the Gupshup Website and Click on the "Login" Button
Visit https://www.gupshup.io/
Once you are on the Gupshup website, locate and click on the "Login" button which is in the right-hand side corner. Now navigate to the end of the page and click "Sign up here.”
This will take you to the registration page where you can start the account creation process.

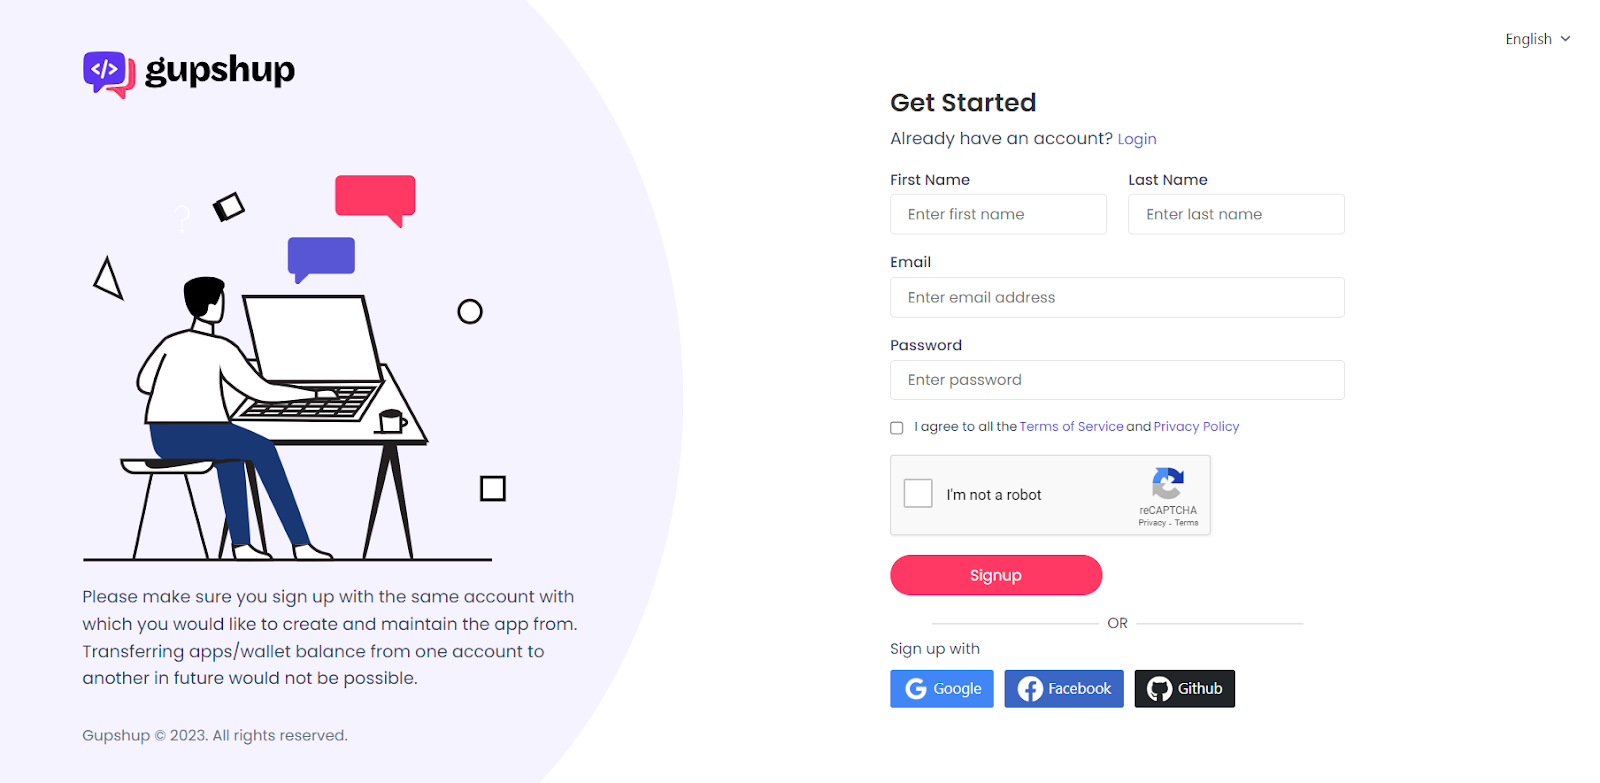
Step 2: Fill in the Required Details
On the registration page, you will be prompted to fill in your First Name, Last Name, Email, and Password. Make sure to double-check the information before proceeding to the next step.
Please Tick Agree to the Terms and Conditions and Click on SignUp.
OR
You can also register by Google, Facebook, Github, and Sign in as well.
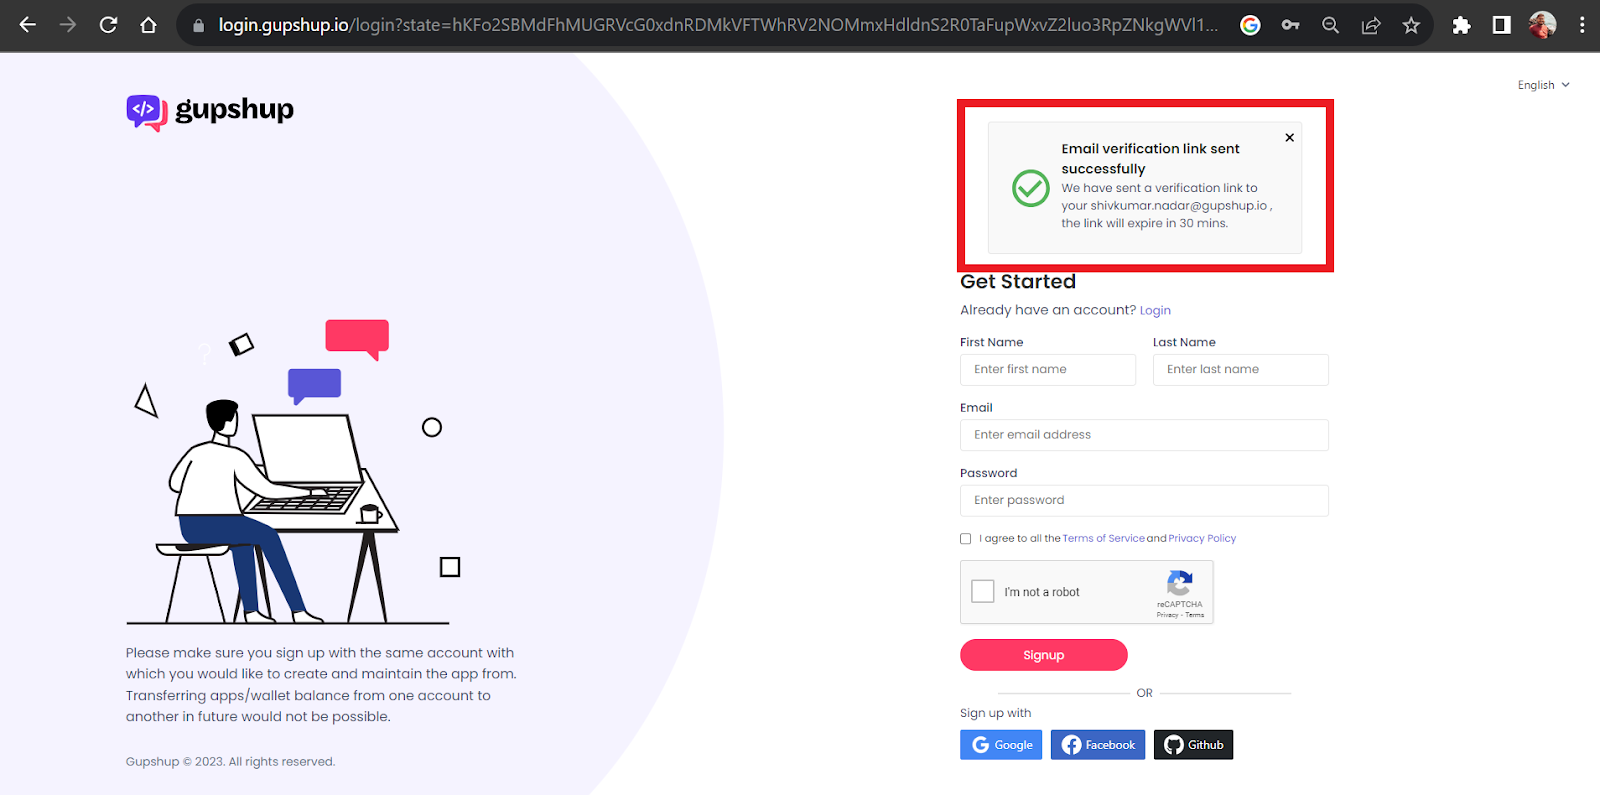
Step 3: Verify Your Account
After submitting your details, Gupshup will send a verification email to the email address you provided during registration. Open the email and click on the verification link to confirm your account.
Step 4: Explore the Features
Now that your Gupshup Self-Serve Account is set up, you can explore the various features offered by Gupshup. These include creating and managing campaigns. Start by creating an app free of cost and try sending WhatsApp Messages and SMS, or creating a bot. Because Gupshup gives every new joiner 5$ USD free to test the App.
Step 5: Explore the Features
Conclusion
Creating a Gupshup Self-Serve Account is a straightforward process that allows businesses to harness the power of messaging platforms to engage with their customers effectively. By following the steps outlined in this guide, you can set up your account and start leveraging Gupshup's features to enhance your communication strategies and drive business growth.
Comments
0 comments
Article is closed for comments.